Candle making is a creative and therapeutic hobby, enjoyed by many people around the world – both experienced makers and complete beginners. Not only does it provide an interesting activity or project to dedicate yourself to, but there are also some other impressive benefits of diving into this craft. While you’ll get a sense of personal accomplishment from each new skill or product you produce, using your own homemade candles can bring real added value to any home.
Memorial grave candles wholesale

From expressing your inner artist and creating beautiful works of art to both selling them for profit or gifting them to friends and family, candle making is a hobby that could bring great joy into your life. Whether you're an experienced creator, just starting out in the craft scene or wanting to expand your business with a new product range, this blog post will provide all the information and inspiration needed for some easy DIYs. From relaxation-inducing aromatherapy and mood-enhancing scented candles to decorative candles for sprucing up the home decor or hand-crafted wax designs as unique gifts - there is an immense variety of options available. So light up those wicks: let's discover all the exciting benefits on offer from getting stuck-in with candle making!
Candle making is a creative and therapeutic hobby, enjoyed by many people around the world – both experienced makers and complete beginners. Not only does it provide an interesting activity or project to dedicate yourself to, but there are also some other impressive benefits of diving into this craft. While you’ll get a sense of personal accomplishment from each new skill or product you produce, using your own homemade candles can bring real added value to any home.
For our most asked FAQs, ingredient information and top tips scroll to the bottom.
Ingredients for Candle Making:
• Candle Wax
• Fragrance Oils
• Wicks
• Candle Dyes
• Candle Glasses
Alternatively, you can use one of our Candle Making Kits, shop our range here.
Equipment for Candle Making:
• Cooker or heat source to melt the wax
• Container to melt the wax in such as a double boiler or a pan inside a pan
• Pouring Jug
• Utensil to stir the wax
• Thermometer
• Wick Centering Tool
• Wick Stick Ums
• Weighing scales
Now let’s get started with the exciting craft of candle making!
How To Make a Candle...
Step One: Preparation
Before you begin candle making, it's important to prepare your space, especially as dealing with wax can be quite messy! Make sure you have a clean flat surface to work on, moving anything you don’t want to get wax on. Also make sure you have your containers and wicks at the ready as the process can go a lot faster than you might initially except.
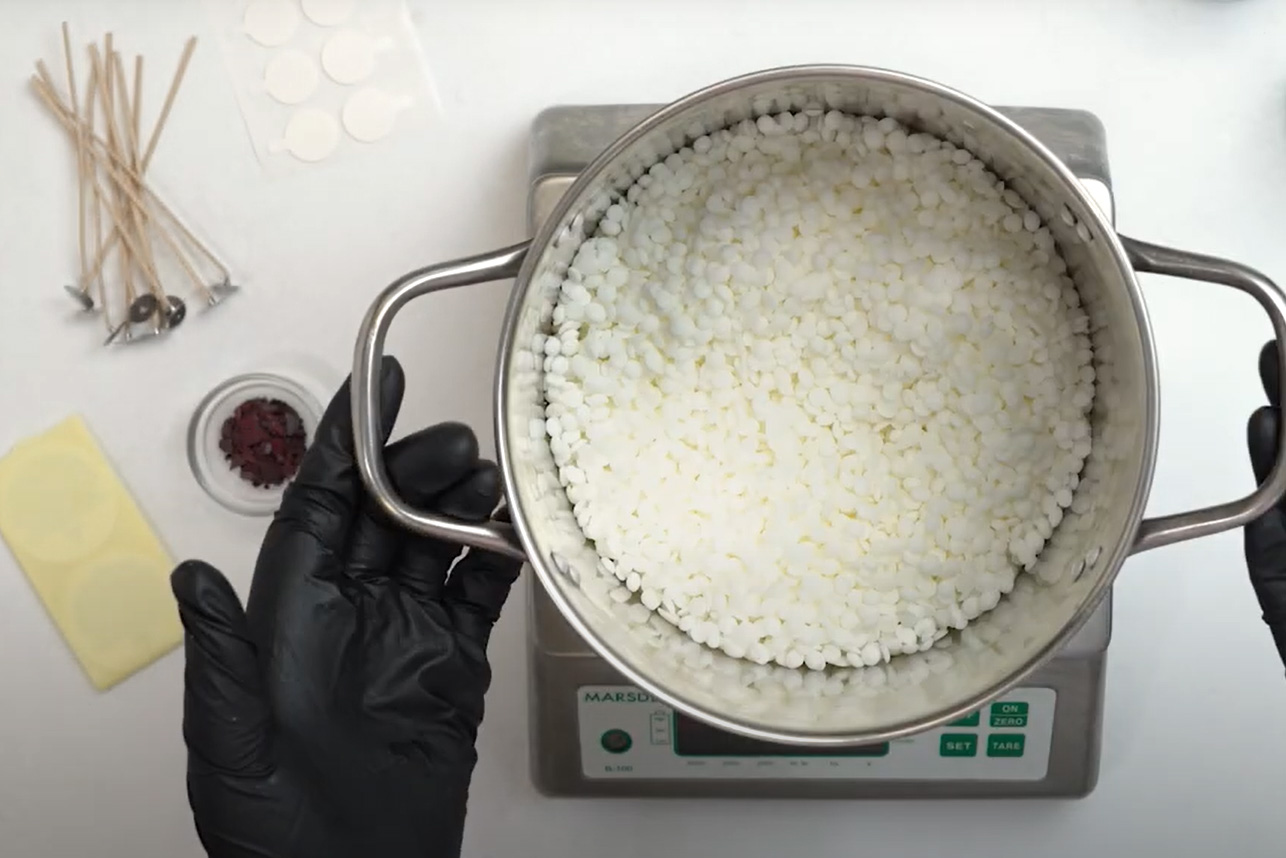
Let's start by weighing out your wax. For this example, we are using 165g to fill a 20cl glass.
TIP: If you’re not sure how much wax you need simply fill your container with water and pour into a measuring jug, then measure the amount of water the container holds in ml’s. Minus 20% off this amount, this leaves you with roughly the amount of wax your container holds in grams.
Step Two: Melting your wax
Next, heat your wax to 70°C whilst stirring gently, please note different waxes have different melt points. Do not exceed 80°C. It only takes 10 to 15 minutes to melt. For this example, we have used a pan, on a low heat to melt our wax. You can also place a glass bowl onto a pan filled halfway with water to act as a double boiler.
Step Three: Prepare your glasses
Whilst your wax is melting, wash your candle glasses in hot water, ensuring there are no foreign objects inside and the glasses are fully dried. Ensure they are left on a flat surface.
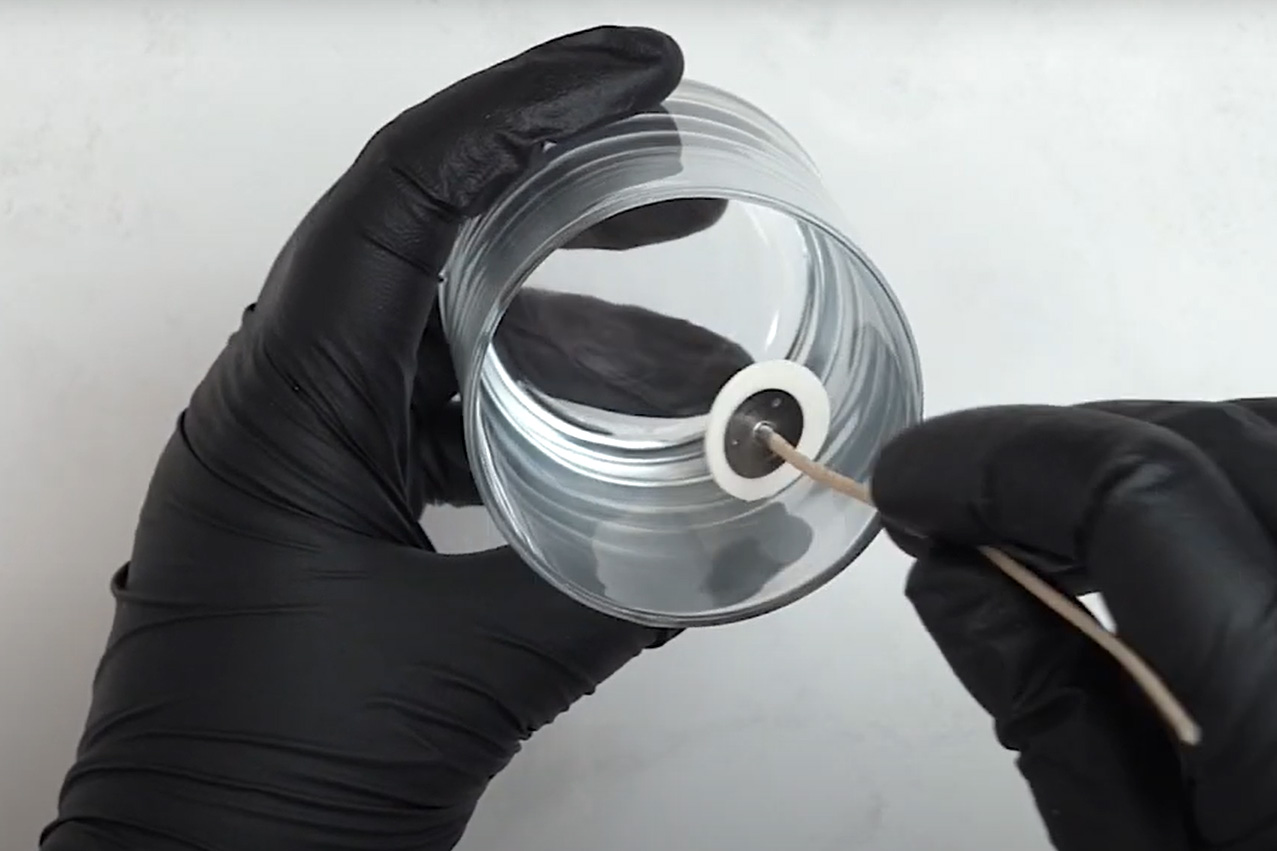
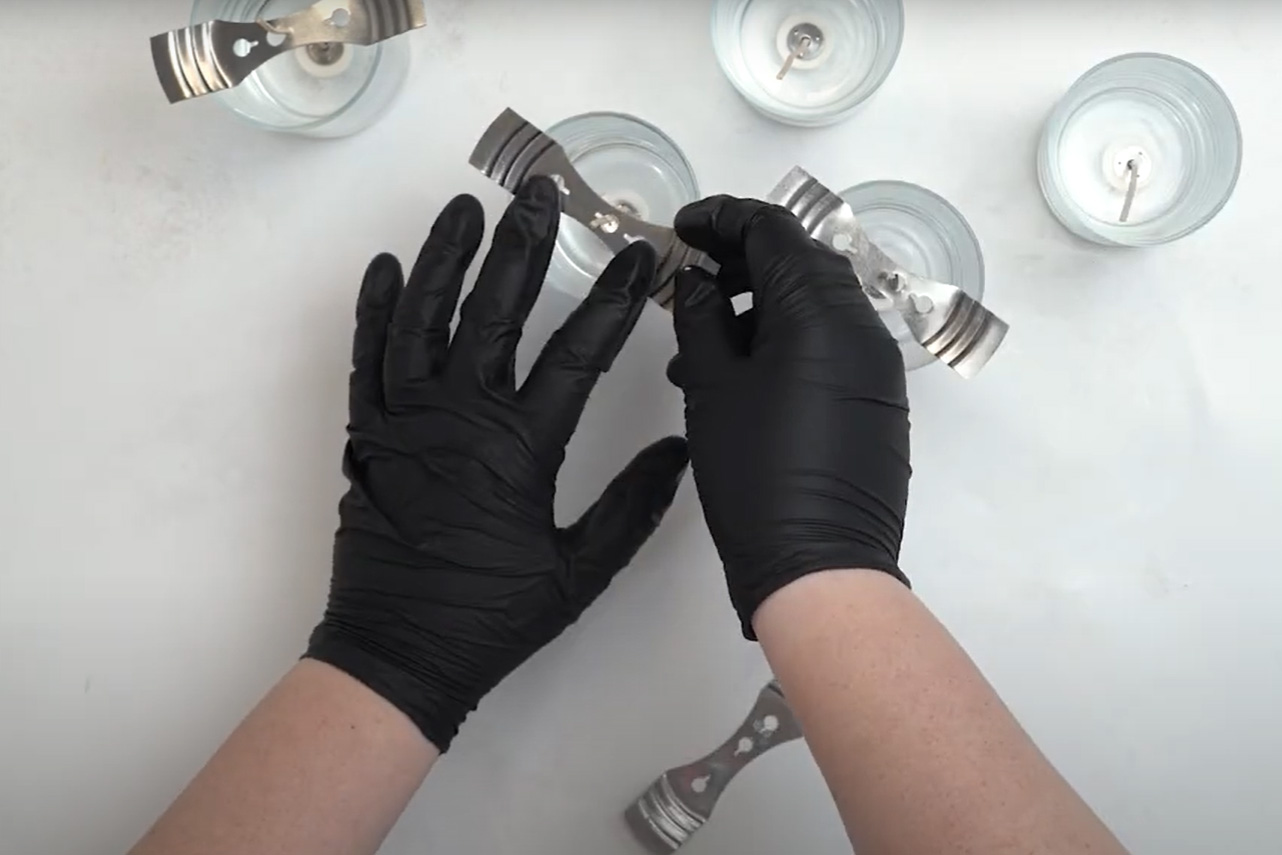
Then, attach your wick ‘Stick Ums’ to the bottom of your wick and place the wick firmly in the center of your glass. Ensure your wicks are suspended tight and upright by using a wick centering tool and rest across the glass.
Alternatively, you can attach your wick with wax: Carefully dip the wick sustainer into the molten wax, place the wick firmly in the centre of your glass and allow to the wax to set the wick in place.
Step Four: Adding Fragrance
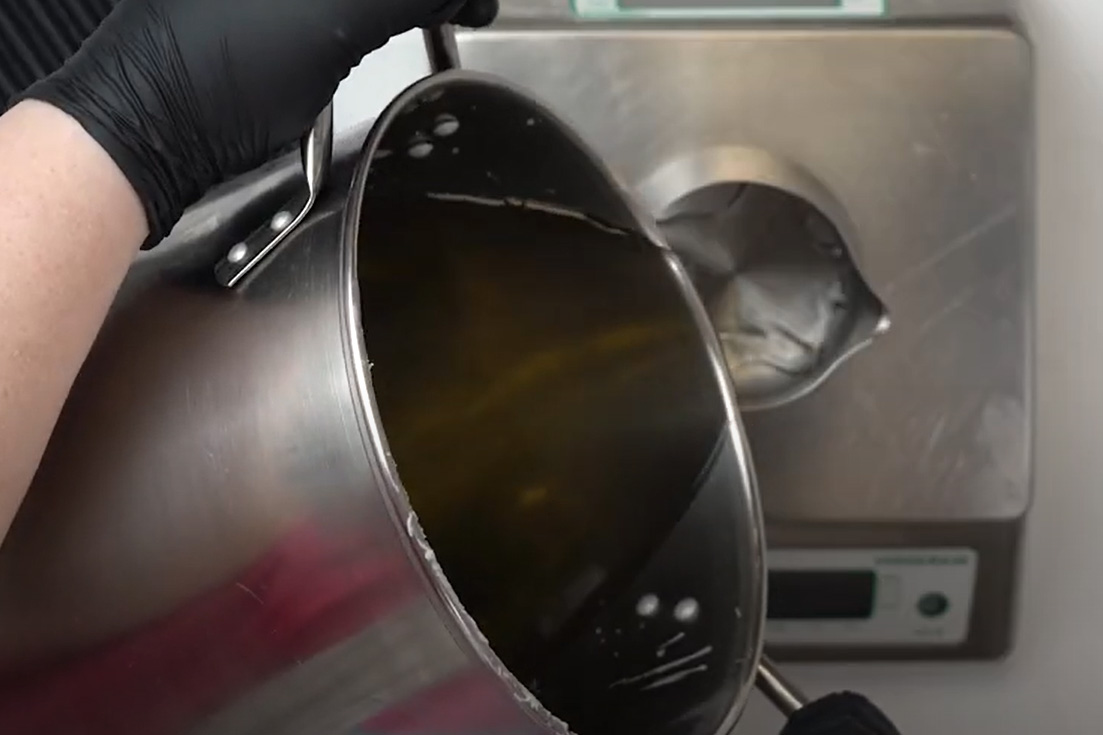
Then, carefully remove your melted wax from the heat and pour into a jug (this helps with accurate pouring). Allow your wax to cool to 65°C and slowly pour in your fragrance, stirring as your pour to ensure it blends throughout. We suggest using up to 10% fragrance oil therefore 100g of fragrance oil will fragrant 1kg of wax.
Adding your fragrance when your wax is too hot, will cause evaporation and you may lose some of the strength of your scent.
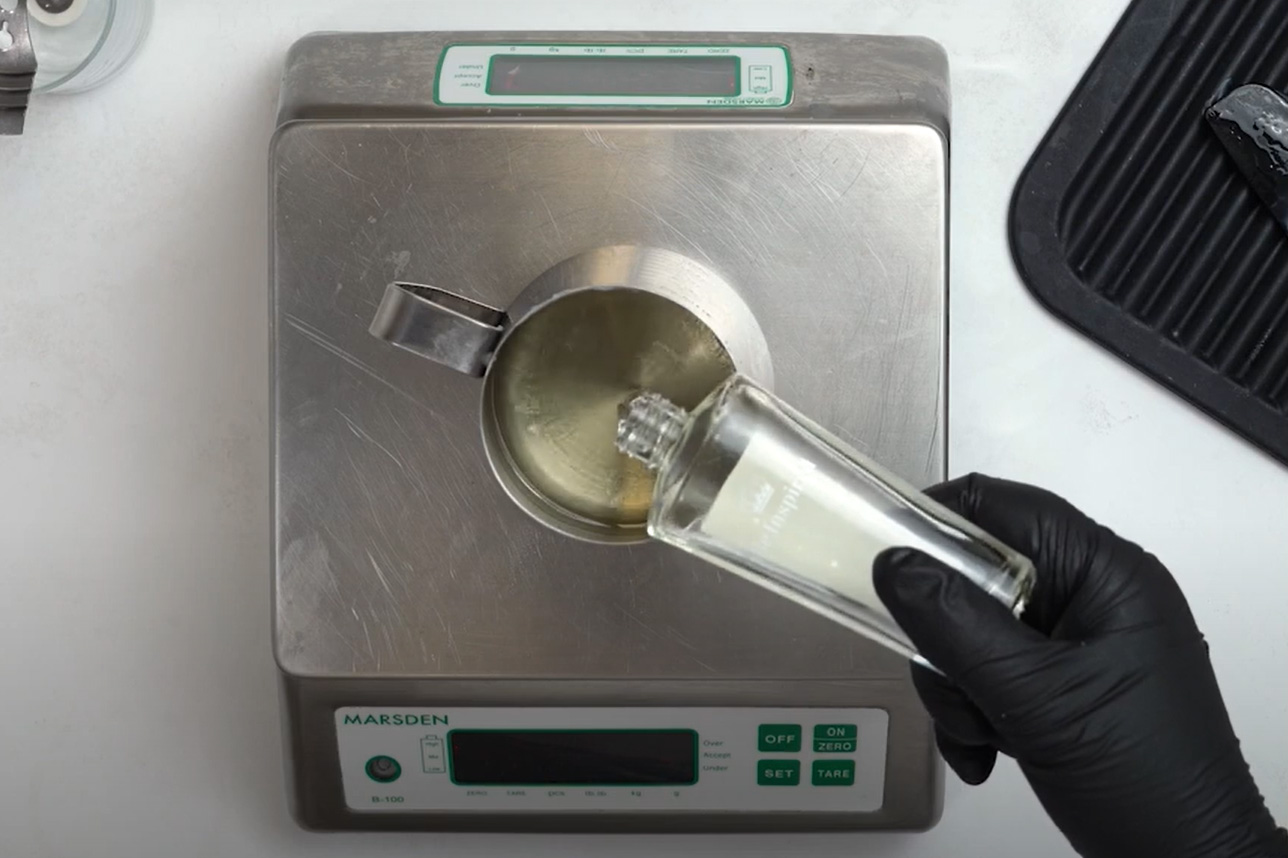
Step Five: Adding Colour
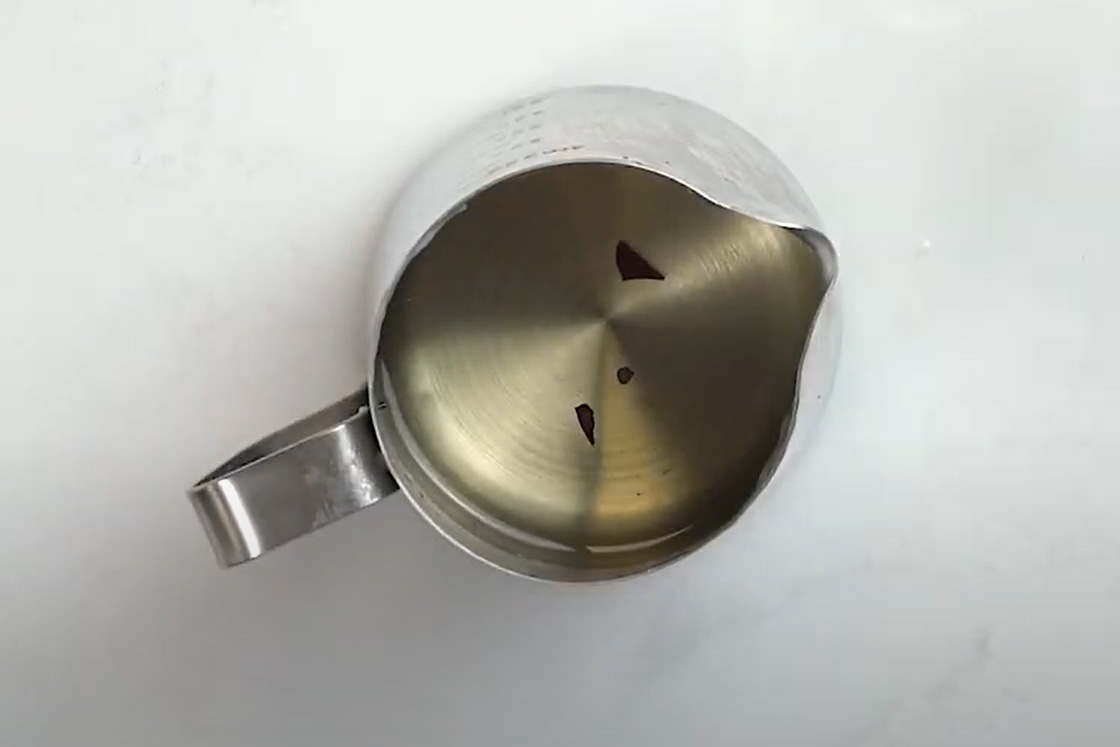
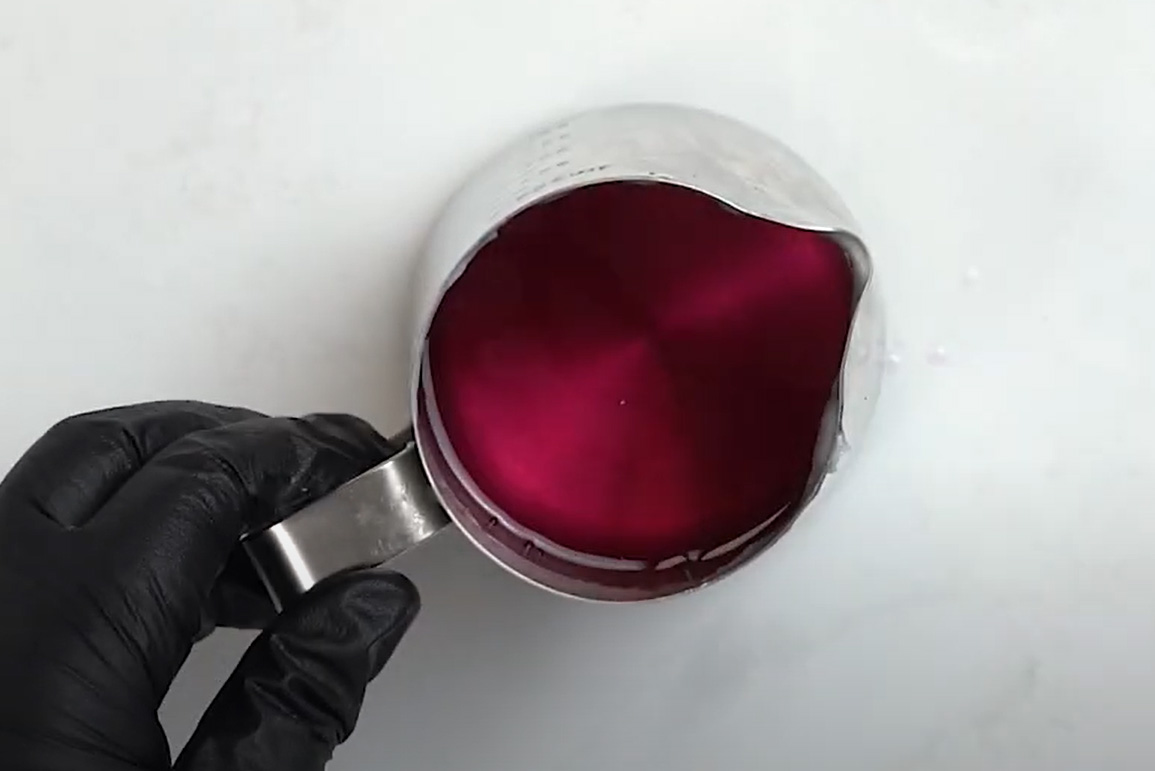
Now it is time to colour your wax, this step can be done before the fragrance is needed. Open your dye chip bag and add a few chips to your wax. Stir gently until all of the colour has dissolved and spread evenly. We suggest using 0.2%, therefore a 10g bag of dye will colour 5kg of paraffin wax. Vegetable waxes may require a higher loading. If you are using liquid candle dye, use a few drops at a time to get your desired colour.
Step Six: Pouring
To reduce the risk of shrinkage, we recommend heating your candle glass. You can do with with a heat gun, running them under a hot tap or sitting them in a hot water bath. Making sure that no water goes into the glass. Additionally, making candles in a warm room is a benefit.
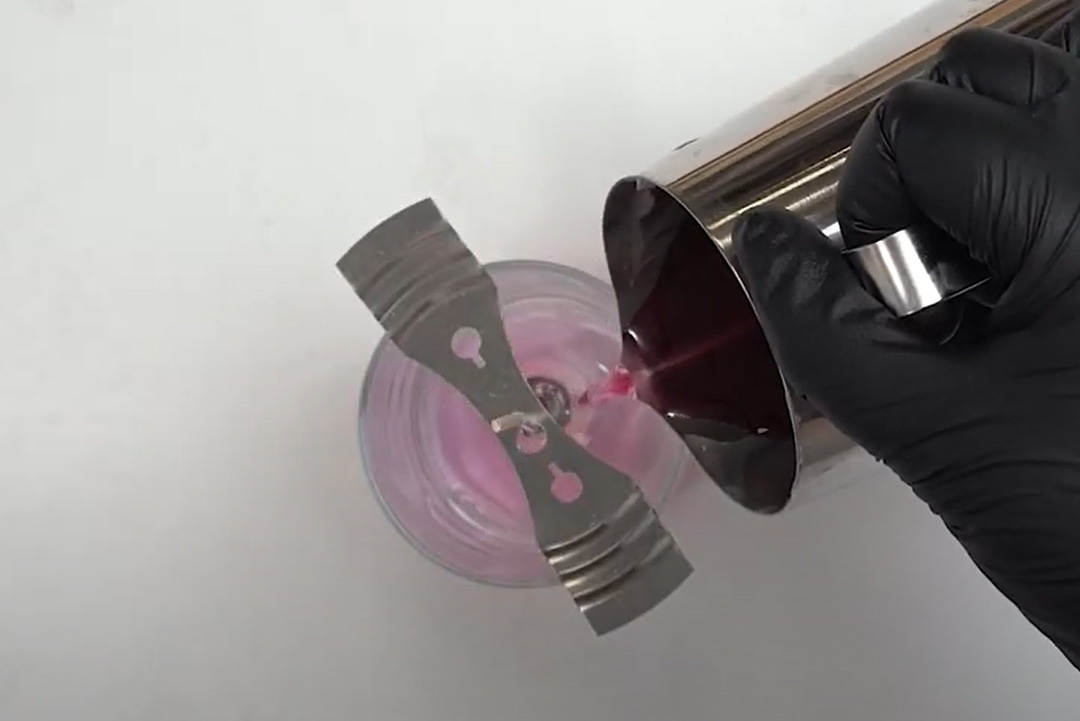
Now all of your ingredients are mixed, it is time to pour, allow your wax to cool to 60°C. Slowly pour your wax into your candle glass leaving 1cm from the top (you can move you wick centering too to the side as you do this and place it back in the center when finished). It is important to gently pour into your glasses to avoid air bubbles. Pour any leftover wax back into your heating container, you may need this later. Then leave your candle to set, preferably overnight.
Step Seven: Finishing Touches
Due to the nature of candle making, wax naturally shrinks whilst cooling, this may cause a sink hole around the wick in the center of the candle, don’t panic, this is an unavoidable part of creating candles. There are two options for fixing this...
• Firstly, you can use a heat gun or hair dryer to heat the top layer of your wax. The melted wax then fills the hole and creates a smooth top.
• Secondly, you can reheat any left-over wax to 65°C and gently pour the wax into the sinkholes to leave a smooth flat surface. You may need to repeat this process two or three times to get a flat finished surface. But we would only recommend this if you have the space at the top of your candle.
Once fully set, carefully remove your centering tool and trim your wick to approximately 5mm.
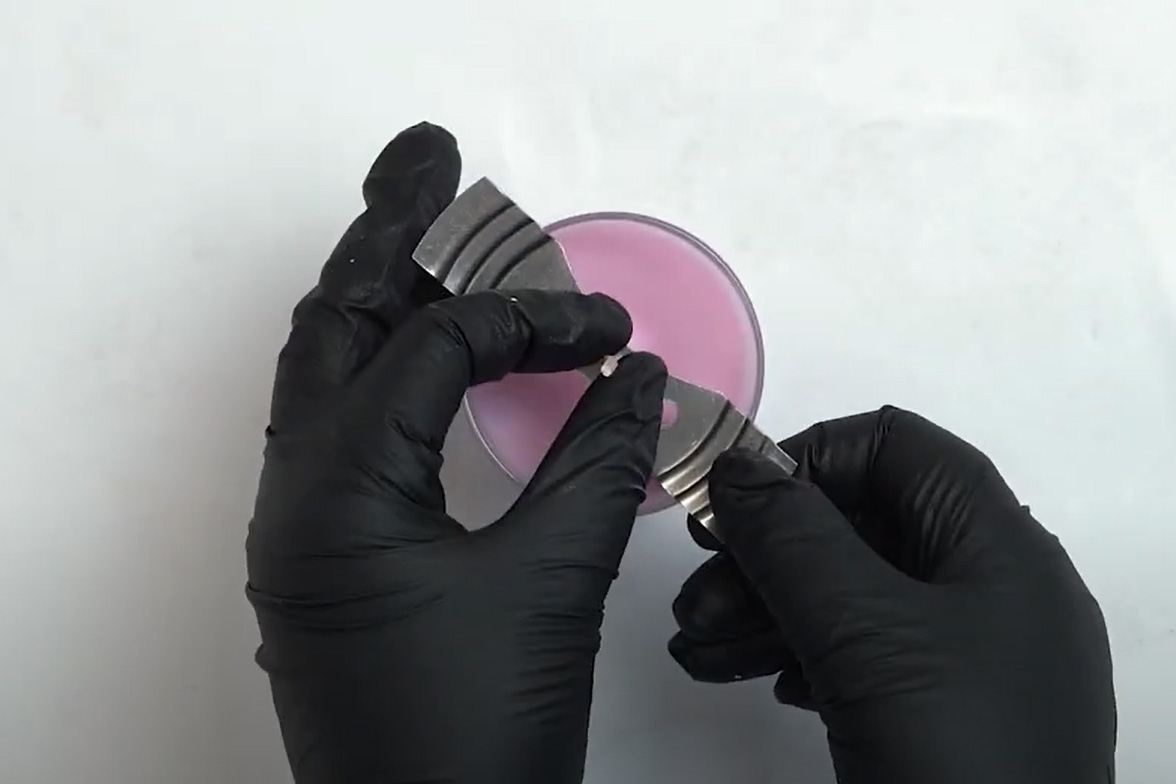
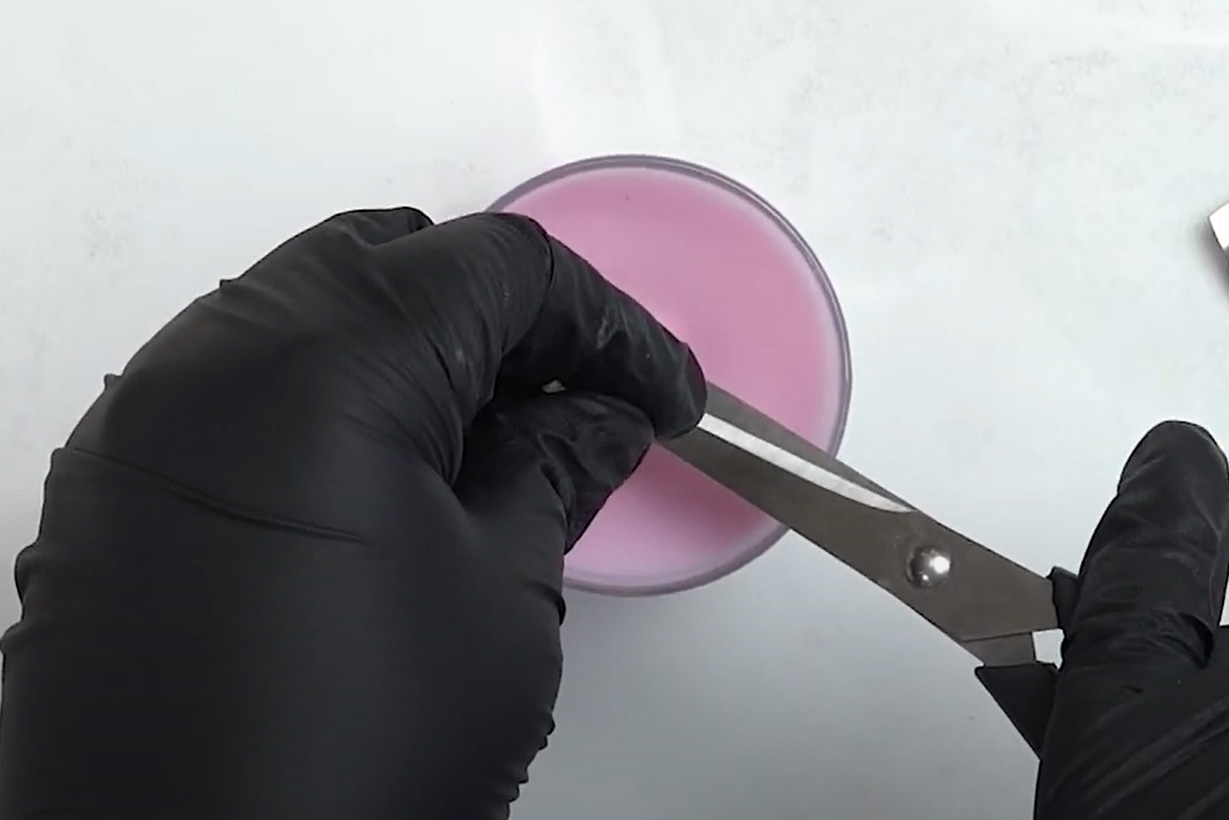
If your candle requires a label, now is the time to apply your label to the bottom of your glass. Then your candle is ready to light!
Please note, this candle making guide is a general starter guide for beginners into container candle making. Variations in waxes, fragrances, and dyes can all affect the finished product, what works for some candles may not work for others.
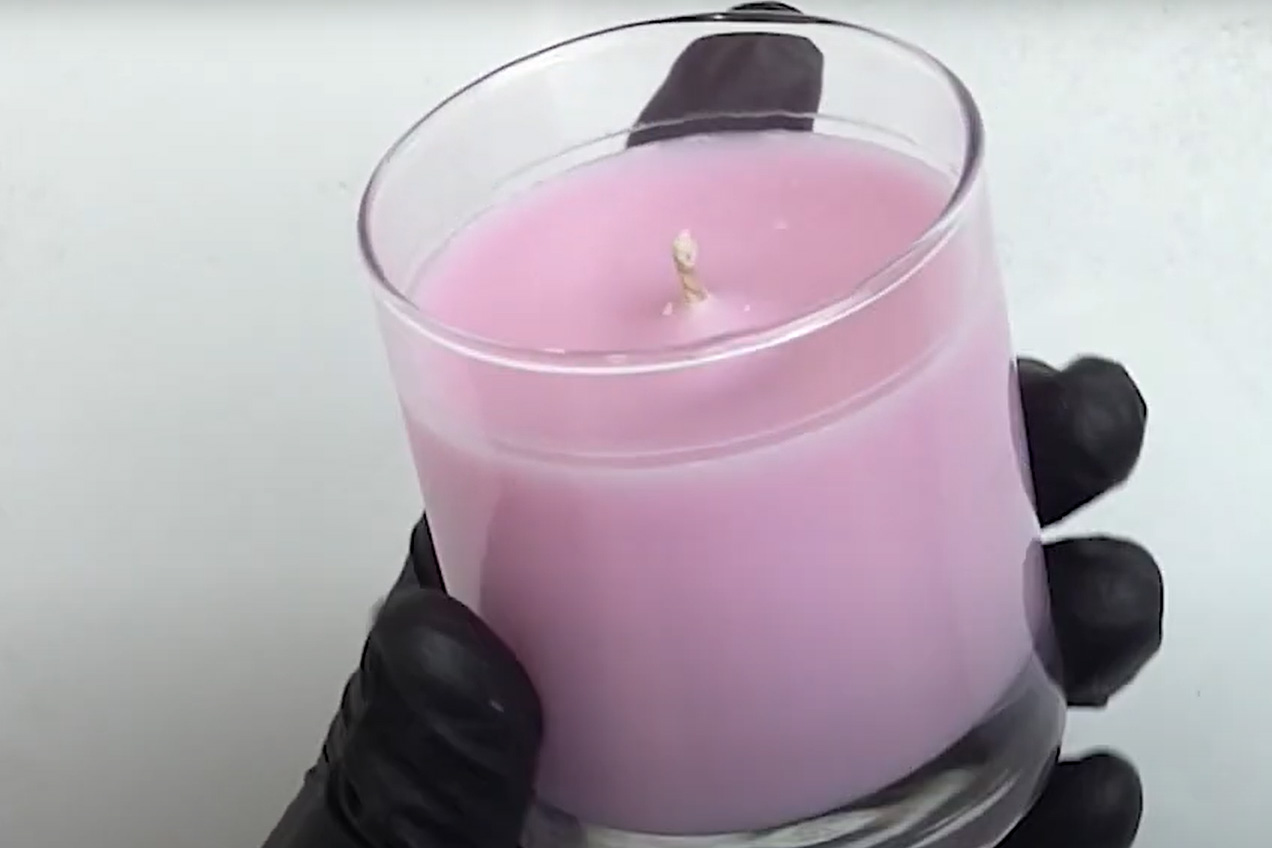
The key to great candle making is trial and error.
Candle Making FAQs
What are the basic supplies needed to make a candle?
Making candles is a fun and relaxing hobby that anyone can do! All you need to get started are some basic supplies:
Ingredients: The most important ingredient in candle making is wax. Whether you choose paraffin, soy, beeswax, or any other type of wax, make sure it’s designed specifically for candle making. You’ll also want wick material. Most wicks come pre-tabbed with metal discs that hold them upright when they’re submerged in melted wax. Another option is to buy plain wicking and make your own tabs with aluminum foil or old soda cans. Finally, you can opt for fragrance oil and/or colour, form dye chips to liquid dyes, to add scent and character to your candles.
Equipment: You won't need much equipment when getting started with DIY candle making - just the basics like a double boiler or pan for melting the wax plus glass jars, containers or silicone moulds for pouring it into shapes; something tall enough to suspend the wick while keeping it centered; an appropriate heating source such as a stovetop burner (not microwaves); a thermometer so you don't overheat your wax; access to a cold and hot tap water if necessary to cool down hot containers after pouring or warm your glasses; measuring cups and spoons plus stirring sticks (wooden or plastic) so everything's measured accurately before being poured; gloves and goggles - safety first! ; As an optional extra, if you plan on using fragrance oils and dyes then be sure to pick up some disposable plastic pipettes since these help prevent messes when working with small amounts of liquid material.
And that’s all there is too it! Assembling these supplies will have you ready start crafting beautiful candles in no time at all – happy melting!
What types of wax are best for candle making?
Making candles can be a fun and rewarding activity, but picking the right type of wax is essential for achieving the best results. Waxes come in a variety of forms and have different melting points; some are best used for container candles, others are more suitable for pillars, tapers, or votives.
First off, let's take a look at some of the most popular types of wax used in candle making:
• Nature Wax C3 - With a lower melt point of 45°C and an exceptional scent throw, with both fragrances and essential oils, this is our best selling wax. Not only for it's capabilities but it also a natural option for waxes. Nature Wax is a blend of hydrogenated vegetable glycerides and non-hazardous ingredients.
• Paraffin Wax - The most widely available wax on the market today, our paraffin blend waxes are professional grade and can typically withstand temperatures up to 88°C. It’s well-suited for creating container candles due to its superior fragrance retention capabilities and it provides a creamy, smooth appearance, with a superb gloss finish.
• Soy Wax - A natural alternative to paraffin made from soybean oil that can withstand temperatures around 57°C. It’s important not to overheat this type of wax as it will quickly turn oily if overheated or cooled too quickly. Soy wax also features an exceptional scent throw when properly scented and is easy to clean up with soap and water if spilled.
• Beeswax - This all-natural wax derived from bees is incredibly versatile and has been applied by candle makers since antiquity! With a melting point around 63°C it will work well in either pillar or container projects (and many other varieties). Beeswax takes fragrances very nicely and burns relatively slowly giving your creations great heat retention.
• ParaSoy - An incredible wax blend, formulated and developed by professionals from feedback and requests from our customers. This wax has the amazing scent throw capabilities of paraffin wax, combined with the same appealing look and usability of soy wax.
No matter which type you choose it's important to remember; use quality ingredients and respect safety protocols whenever your are making candles.
How can I make sure my candles burn evenly?
Making sure your candles burn evenly can be a tricky task, but it doesn’t have to be! Here are some tips and tricks for ensuring that your candles look professional and get the most out of their wicks.
1. Choose high quality wax – A low-quality wax can lead to uneven burning, so make sure you select one that has a melting point within 40°C - 60°C.
2. Keep your wicks centered – You want to make sure that when you pour the hot wax into the container, all areas have equal heat distribution - keep them centered in their containers with your tool or use wick supports if needed.
3. Ensure proper pouring temperature - When pouring hot wax into containers be aware of its temperature - too hot temperatures may cause cracking and excessive flaming while cooler temperatures may result in poor adhesion or sinking wicks. Aim for somewhere between 60°C - 80°C.
4. Environment and drafts – Keep your workspace free from drafts as moving air will disrupt molten wax as it cools down. Making it difficult for the candlewicks to stay upright, which in turn causes odd shapes at different levels resulting in poor burning qualities afterwards. Make sure your candles are poured and left to set away from open windows and any other external sources of air movement are eliminated before starting to work with your candles. This alongside an ideal making environment, working in a room which is 20°C - 25°C ensures a warm climate for your candles, but not too hot that is restricts their setting time.
5. Properly size your wick - Using correctly sized wicks helps prevent inconsistent burn patterns, due to either an underperforming or overly aggressive flame, caused by too small/large a wick size respectively; Check out our guide to choosing the correct wick for your candles here.
6. Make multiple batches at once – Making multiple batches of candles at once will reduce inconsistencies between batches caused by environmental factors like being able to sit undisturbed while cooling off uniformly, leading up better overall burning performance over time...
If followed correctly these tips should help ensure consistent results every time when making candles ensuring both safety and beauty!


 +8613838384866
 sales18@litbright.com(Aromatherapy)